|
If there is one topic that is hot amongst newer coaches it is bar path. Many will say that it is completely vertical, however if we pull out a trusted slowmo app we will see that is not true. There is a large amount of well documented Russian and Bulgarian research (back from the 1980s) that shows the optimal bar path to resemble a flat S. This what we call the S curve. Today we will be focusing on when the bar meets the hips. A common problem here is that sometimes that hips become a slingshot. Basically, the bar is projected forward, because the hips only move forward. This causes the lifter to have to jump forward and expend a ton of energy to get their shoulders underneath the bar. The more ideal version of the finish is where the lifter both pushes the hips forward while extending upwards in a “scooping” fashion. This will still push the bar slightly forward, but to an acceptable amount where they can drop under the bar without having the actually jump forward. If this has become an ingrained issue within you, you may need more help than just the cue of “hips forward and up”. Performing tall snatches or tall cleans with a focus on keeping the bar close and pulling back will help to solve this issue. Even using these in your barbell warmup can prime the correct positioning.
Do you feel unstable in your split jerk? Are your feet always feeling as if they need to be somewhere else in your split? Maybe they should be! There is much to be said about different styles of jerks, but the vast majority of split jerks will fall into a very similar positioning. The front leg should be perpendicular to the ground and the back leg should have a slight bend in it. The back foot should be up on on the toe and pointed straight ahead. The front toe will be turned slightly inward for stabilization, but the body most times will naturally make this correction. Feet should land about shoulder width apart. A great way to find an optimal length for the stride in your jerk is to kneel on the ground in a lunge position so that the back femur and the front femur are perpendicular to the ground. Once you reach this positioning, then stand up halfway and you should be in an ideal jerk feet placement.
It's that time again! Your ankles are hurting, shins are on fire and your back is in so much pain all you can think about is having your spine ripped out and stretched. Your training shoes are dead and it's time to get a new pair. Even if you have a contract you more than likely didn't stock on your favorite training shoe from last season which means now you have to shop for a new pair of kicks that will get you through the daily grind of running, jumping and lifting.
Below are a few tips to help you with your shoe buying experience.
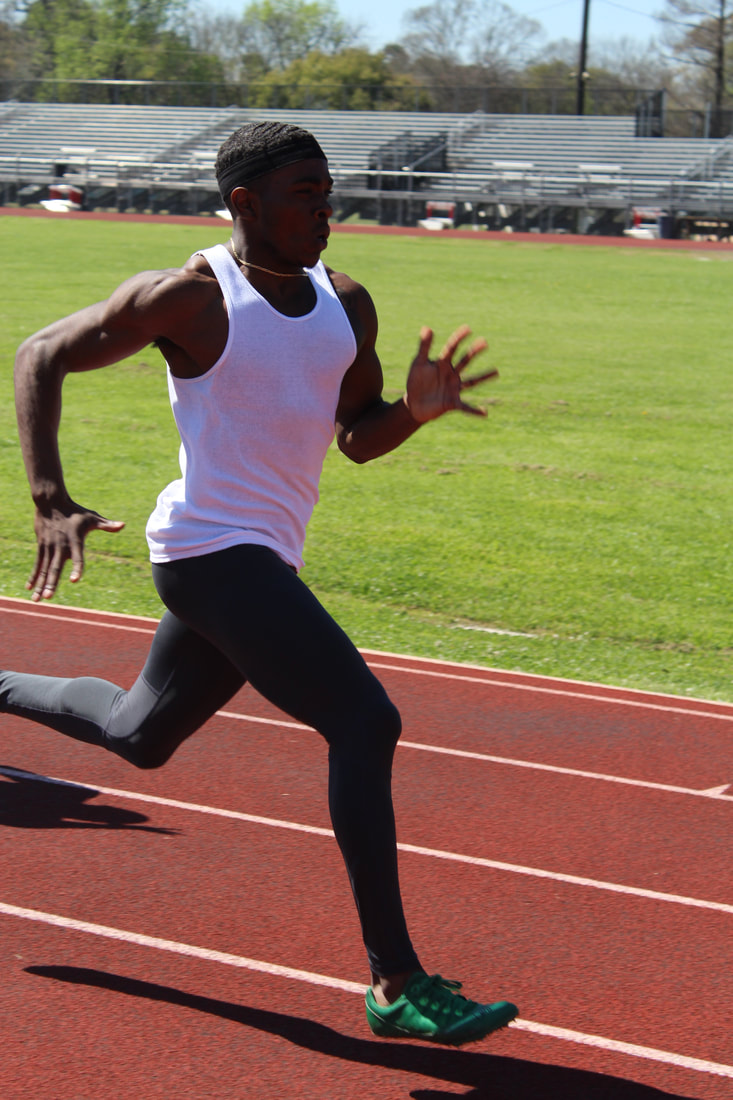
More times than not sprinters will run with their fist clinched. They feel this helps them to run harder because their are trying to muscle their way down the track. This usually leads to tight shoulders translating to limited range of motion.
Encourage your athletes to practice soft or neutral hands while they run. This will allow for an improved elastic response and range of motion. Unilateral work is essential for any Olympic lifter. We’ve all heard of split squats and step-ups, but how about a little variation? Try single leg RDLS. Essentially this is a regular RDL with one leg. This is performed on one leg while pushing the other back as the weight is lowered to the ground from the hand. This exercise will create stability in the muscles of the hamstring and will create a great sense of balance for the athlete.
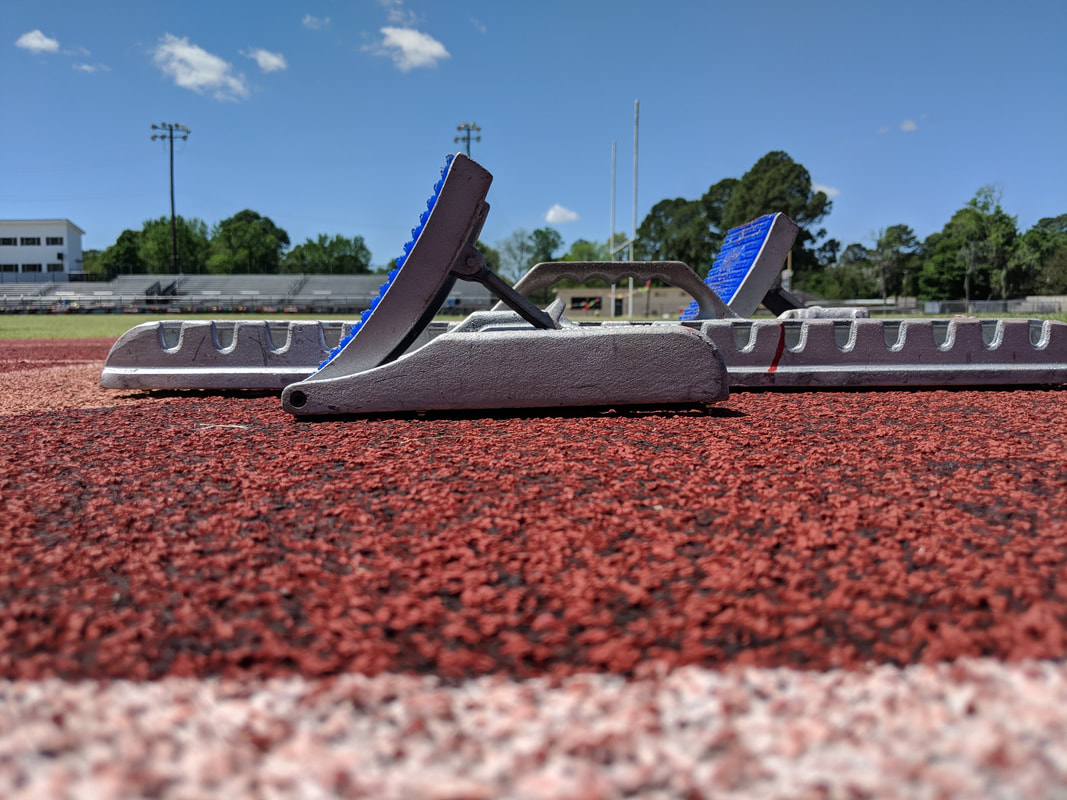
Wow! This is an interesting topic in sprinting. Getting out of the blocks is very important.
Just as important as you getting in the blocks. At track adiktz we've seen a lot starting block positions. You've heard about shin angels, hip height, pad and arm placement but not so much about foot placement. Here we're going to focus on where it all starts. Pad Placement: First, Place your pads appropriately (see pad placement article). Feet in pads: Second, Place your feet in the pads. Be sure to firmly place the balls of your feet in the pads. Rear foot first front foot second. As you settle into the "on your marks" position you'll feel your feet firmly planted against the pads. Here is where it gets tricky some athletes place their toes on the ground while the balls of their feet are flexed pressing into the pads. Other athletes place their foot in the pad with toes not touching the ground (i.e. the top edge of their toe aligned with the edge of the pad) Our advice here is to use which ever method is most comfortable for the athlete based on the flexibility of their Achilles and ankle. Keeping in mind the goal of having the athletes heal flexed and pressings against the full surface of the pads, no empty space when the athletes come to set. Olympic weightlifting straps are quite different from conventional straps seen in a Globo Gym. Olympic lifting straps are simply only look of leather or fabric, cupped upward, and the ends either sewn or taped. To use these types of straps, simply keep the strap cupped upward, and bring the hand inside the loop from underneath the strap. Now that the strap is around the wrist, feed the end in between your thumb and pointer finger and pull tightly so its firmly on your wrist. Now take the end of the strap and feed the strap underneath the bar and then around the top such that the strap loops around the bar. One loop around the bar should be sufficient. Now grab the strap and bar with your hand, and turn the strap around the bar until the bar is strapped into your hand and the strap is firmly on your wrist. Now comes the trick part. You got one strap latched on, but your still got one more to go. It will take some practice doing this with only the use of one hand, but within a few weeks, you should be a pro at it.
It's the middle of the season but you've got to travel for business, family or good old fun. Focused training can be difficult during your normal routine how much more when you're on the road. Don't worry, with some planning you can get in some quality training sessions.
First thing to keep in mind is rest is king. This translates to no super early or late flights, train rides or drives. Throwing off your sleep cycle can really get you off your game. Have your travel plans coincide with your typical schedule as closely as possible. Next, plan your stay. Be sure to have your go to general strength and dumbbell weight room routines in handy. If you're serious you can locate a track and gym in your area that will allow you to use their facilities while you're in town. Most high school and some college tracks are open to the public and if your schedule permits you can get some quality training in. Third, plan and pack your snacks and supplements. This can be tricky but with some planning you'll be able to avoid trashing your diet completely, zip lock bags and sharpie can make world of difference when organizing snacks and supplements while packing. Be sure not to train to hard the day before travel you don't want to be sore and tight during the trip. Eat your packed snacks and stay hydrated during your trip. Now that you've arrived don't get crazy and start training like a mad man or women ;) once you've identified your training environment. Ease into your training It may not be wise to train once you arrive to your destination relax and get settled. Become familiar with your surroundings. If you do anything shake out, light stretching, a jog and a good night’s sleep is all you need Now that you've had a night to get adjusted It's time to get to work. Hotels and cruise ships have your typical fitness centers with treadmills, ellipticals, and dumbbells here is where your general strength and dumbbell training routines will come in handy here. Execute your general strength routines as you normally would. Coach Boo Schexnayder routines are great for keeping you conditioned click Here. When it comes to weight training having dumbbell modifications of your barbell routine helps you keep up with your weight training while on the road. If you're not near or able to get to a track stairwells are great places to get in some work. Remember Do What is Hard Share some of your on the road training with the other adiktz. Are you constantly finding it difficult to lock out your jerk? Do you find yourself commonly pushing the bar forward, because the bar is slipping off of your chest? Listen up! First let’s talk about the correct grip. For females, the grip should be in between and half of a thumbs length and a full thumbs length from the knurling on the bar. For males, the grip should be between a full thumbs length to a thumb and a half-length from the knurling. The differences in grip mostly has to do with both size and mobility. Typically, the larger and less flexible you are, you might prefer a wider grip. The smaller and more flexible you are, tend to lean towards a narrower grip. The elbow positioning for the jerk should be somewhat between a front squat and your military press rack position. To find the correct rack position for the jerk, simply start with your elbows up just like the front squat position and then open those elbows (push them outwards towards the end of the bar. Naturally the elbows should drop a bit, but this is ok. When going into the dip and drive phase, constantly remind yourself to keep your elbows “up and out.”
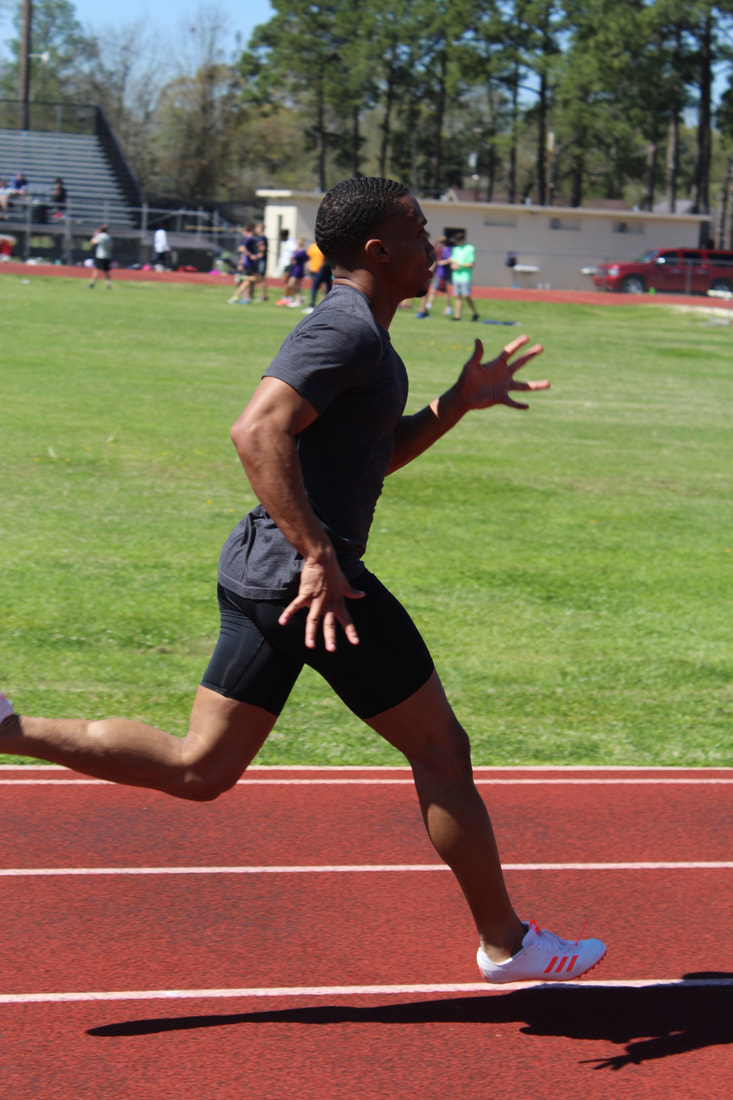
You want cover more ground with each stride? Relax your shoulders so you can get maximum displacement. Sprinters tend to want to muscle their way down the track thinking this will make them quicker. This usually leads to tight shoulders limiting range of motion in your arms and legs.
Relax and let the speed come naturally. |


 RSS Feed


